Q&A: Everything You Need to Know About Proper Dry Hopping
Q: What's the most common mistake home brewers make with dry hopping?
A: Thinking that longer equals better. It's a classic case of more isn't always merrier. Many brewers leave their hops in contact for weeks, expecting massive aroma gains. The reality? You're likely stripping away the very characteristics you're trying to enhance.
Q: So when exactly should I add my dry hops?
A: Here's where it gets interesting – add them whilst your beer is still warm and active, around 1.020 specific gravity. This goes against conventional wisdom of waiting until fermentation is completely finished, but bear with us.
Q: Won't that affect fermentation negatively?
A: Quite the opposite, actually. At 1.020, you've got gentle convection currents from ongoing fermentation that naturally distribute your hops throughout the beer. It's not vigorous enough to blow off those precious aromatics, but active enough to do the mixing for you.
The Three-Day Rule That Changes Everything
Here's the technique that's transformed countless brews: limit hop contact to just 3 days at fermentation temperature, then chill for 24-36 hours before transferring off the yeast and spent hops.
Sounds too brief? Peter Wolfe's research (proper academic stuff, not just brewing folklore) shows that full aroma extraction can occur in as little as 4 hours. Extended contact times actually reduce aroma contribution – not what any of us want in our pint glass.
What You'll Notice Immediately
Cleaner hop character: No more of that harsh, vegetal quality that can plague over-extracted dry hops. Your beer will taste more integrated, more professional.
Better value for money: You'll achieve the same aromatic impact using fewer hops. Given the cost of quality British and imported hops these days, your brewing budget will stretch further.
No resinous bite: This method virtually eliminates those harsh, pine-like characteristics that can dominate when dry hopping goes wrong.
Faster turnaround: From 1.020 to final gravity takes roughly 2 days, plus one day on hops. You can transfer within 24 hours of chilling – proper efficient brewing.
Learning from the Professionals
British craft brewers have been quietly using similar techniques for years. The principle aligns with traditional cask conditioning methods, where hops were added during secondary fermentation.
Stone Brewing drops their beer to 17°C straight after primary, removes yeast, then adds hops. They circulate three times over 36 hours before chilling. Their key insight? Dry hopping with yeast present actually reduces astringency.
Russian River takes a staged approach at 16°C over 6-14 days, finding better aroma at 20°C (though this interferes with yeast harvesting).
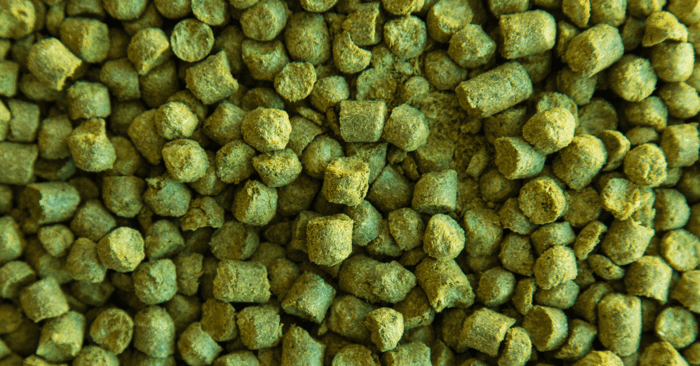
Proper Hopping Rates for British Brewers
Strong IPAs: 100-150g per 23-litre batch
Session IPAs and Pale Ales: 50-100g per 23-litre batch
Milds and Bitters: 25-50g per 23-litre batch
Adjust based on hop variety and oil content – some of those American varieties pack quite a punch
The Only Downside Worth Mentioning
If you harvest yeast for subsequent batches, you'll need to plan around this technique. The yeast becomes contaminated with hop matter, so it's not suitable for reuse. Plan your brewing schedule accordingly.
Making It Work in Your Setup
The beauty of this method is its adaptability. Whether you're using a plastic fermenter in your kitchen or a proper conical in the garage, the principles remain the same. Start with these guidelines, then adjust based on your equipment and taste preferences.
Top tip: Keep detailed notes on hop varieties, contact times, and results. Building your own database of what works with your system is invaluable.
Ready to revolutionise your dry hopping technique? Browse our complete Brewing 101 series for more methods that'll elevate your homebrew from good to genuinely brilliant.
Got questions about implementing this approach or want to share your results? Drop us a line – we're always up for a proper brewing discussion!
Grainfather Team