There's something rather magical about fermentation, isn't there? One moment you've got sweet wort, the next you're watching yeast transform it into proper beer. It's the heart of brewing – whether you're crafting a traditional bitter or experimenting with modern styles.
What Makes Fermentation Tick?
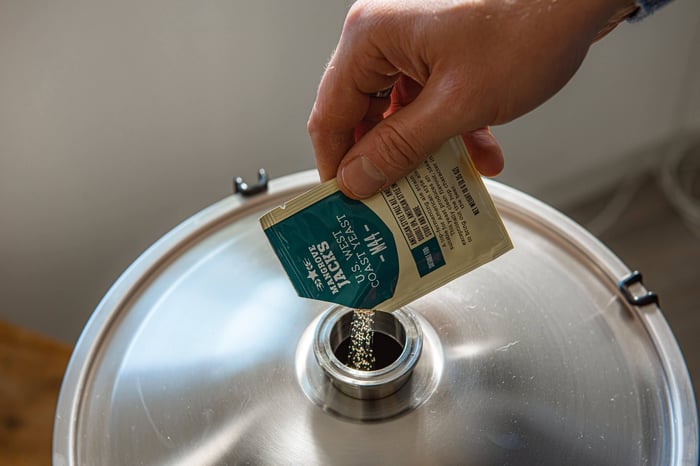
Fermentation is where the real alchemy happens. Your yeast converts the sugars from your grain bill into alcohol and CO2, creating the beer we know and love. The process kicks off when you pitch your yeast into cooled wort, and from that moment, nature takes the wheel.
The Eternal Question: When Will It Be Ready?
Right, let's address the elephant in the room – we can't actually control how long fermentation takes. Frustrating? Perhaps. But that's part of the beauty of brewing. Once your yeast gets going, they're calling the shots.
What we can do is create the perfect conditions for them to work their magic efficiently and cleanly.
Getting Your Temperature Spot On
Here's where many home brewers either make brilliant beer or create something they'd rather forget – temperature control. It's absolutely crucial, and frankly, it's often the difference between a decent pint and something truly special.
Every yeast strain comes with its preferred temperature range, rather like how we all have our ideal weather for a good walk. Stick within that range, and you'll get the best out of your yeast.
The British approach: Aim for the lower end of the middle range. If your yeast packet suggests 18-22°C, try maintaining around 19-20°C. Your beer will thank you with cleaner flavours and fewer unwanted characteristics.
What Happens When Temperature Goes Wonky?
Too warm (particularly outside the recommended range):
- Off-flavours that nobody asked for
- Harsh, solvent-like notes
- Overly aggressive fermentation
Too chilly (below the yeast's comfort zone):
- Sluggish or stuck fermentation
- Extended brewing times
- Potential for incomplete fermentation
Special mention: Some styles actually benefit from slightly different approaches. Traditional English ales often perform beautifully at the upper end of their temperature ranges, whilst continental lagers prefer cooler conditions.
Modern marvel: Kveik yeast is absolutely brilliant for those sweltering summer days when your usual yeast would struggle. These Norwegian strains happily ferment at temperatures over 30°C without producing any nasty flavours – quite remarkable really.
How Do You Know When It's Finished?
Stop watching that airlock! We know it's oddly hypnotic (we've all spent far too long staring at those bubbles), but it's not giving you the full picture. CO2 can escape through tiny gaps you can't see, meaning your airlock might go quiet whilst fermentation continues.
The only reliable method: Use a hydrometer or refractometer to measure your specific gravity. Take readings over 2-3 consecutive days – when they remain stable, you know fermentation has properly finished.
Post-Fermentation: The Waiting Game
Once your primary fermentation wraps up, give your beer a few days to settle. This isn't just good practice – it's essential for proper beer development. During this time:
- Yeast cells flocculate and drop out of suspension
- Flavours begin to mature and balance
- The beer naturally clarifies
- Any harsh notes from active fermentation smooth out
Top tip: If you can drop the temperature a few degrees, it'll help encourage the yeast to settle more effectively – just like how we all feel a bit sleepy when it gets cooler.
Secondary Fermentation: Usually Unnecessary
There was a time when everyone insisted you must rack your beer to a secondary fermenter after primary fermentation finished. These days, we understand the risks often outweigh the benefits:
- Potential for oxidation
- Risk of contamination
- Unnecessary handling of your precious beer
Modern wisdom: Only use secondary fermentation when you're actually doing something that requires it – like [LINK: bottle conditioning] or [LINK: adding oak] to your beer.
The Fermentation Journey: What's Actually Happening
If you've got a clear fermenter, you can watch this fascinating process unfold. Here's what your yeast are up to during each phase:
Phase One: Getting Their Bearings (0-15 hours)
Think of this as your yeast having their morning cuppa – they're waking up and working out what's what. They're absorbing oxygen and nutrients, preparing for the work ahead. No airlock activity yet, just quiet preparation.
Phase Two: The Main Event (4 hours – 4 days)
This is when things get exciting! Your yeast multiply rapidly, creating that lovely krausen foam on top. The airlock starts bubbling away merrily, and you can sometimes see gentle circulation in the wort from the heat produced by all that yeast activity. Most of your alcohol and flavour compounds develop during this crucial period.
Phase Three: Housekeeping (3-10 days)
The easy sugars are gone, so your yeast switch to tidy-up mode. They start absorbing various compounds that can cause off-flavours – diacetyl, higher alcohols, and certain esters. The krausen changes colour, turning from creamy white to yellowish-brown as it incorporates proteins and hop compounds.
Phase Four: Time for a Kip (several weeks)
Your hardworking yeast have earned their rest. They settle to the bottom whilst your beer clarifies and the flavours mature. This is when patience really pays dividends – rushing this stage rarely results in the best beer.
Troubleshooting Common Concerns
Q: My airlock stopped bubbling – is something wrong?A: Not necessarily! Check your gravity readings instead. The airlock might have stopped due to temperature changes or small leaks.
Q: There's a strange smell coming from my fermenter – should I be worried?A: Fermentation can produce some interesting aromas. Sulphur compounds are normal and usually dissipate. Trust your senses, but don't panic at the first unusual smell.
Q: My krausen looks different than expected – what's going on?A: Krausen appearance varies with yeast strains, temperature, and wort composition. As long as fermentation is progressing normally (check those gravity readings!), you're likely fine.
Taking Your Brewing Further
Understanding fermentation is fundamental to brewing brilliant beer consistently. Once you've mastered these basics, consider exploring our guides on [LINK: advanced yeast management] and [LINK: beer packaging techniques] to complete your brewing knowledge.
Remember, every batch teaches you something new about how yeast behaves under different conditions. Keep detailed notes, and you'll soon develop an intuitive understanding of the fermentation process.
Got questions about your current brew or planning your next one? Drop us a line – we're always happy to chat with fellow brewers about the wonderful world of fermentation.
Grainfather Team