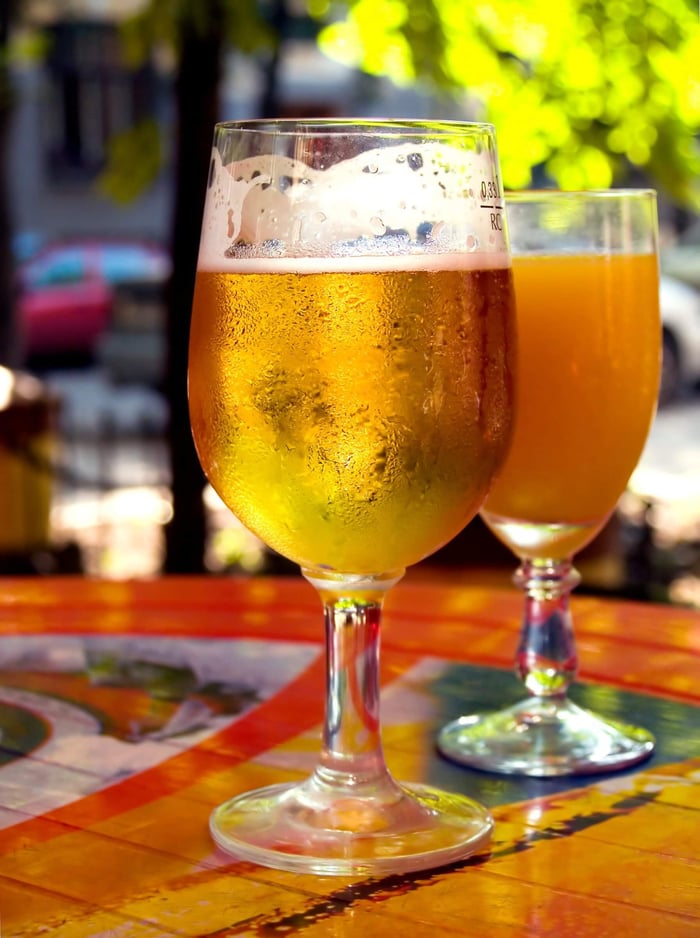
Let's talk fermentation – the bit where your carefully crafted wort transforms into proper beer. It's not magic (though it feels like it sometimes), but rather a fascinating biological process where yeast converts sugars into alcohol and CO2, giving us the drink we all love.
How Do I Know When My Beer's Ready?
Stop Watching That Airlock! We know it's tempting – that satisfying 'glug' every few seconds is rather hypnotic, isn't it? But here's the thing: airlocks are rubbish at telling you when fermentation's finished. They're designed to keep nasties out and let CO2 escape, not provide accurate progress reports. CO2 can leak through imperfect seals, making your airlock go quiet whilst fermentation's still motoring along happily.
The Proper Way: Gravity Readings - Want to know if your beer's actually done? Get yourself a hydrometer or refractometer. These instruments measure the sugar content in your beer, giving you proper data rather than guesswork.
The British Standard - Take gravity readings over 2-3 consecutive days. If they're stable, Bob's your uncle – fermentation's complete.
Temperature Control: Getting It Right
Temperature's absolutely crucial for good fermentation. Every yeast strain has its preferred working conditions, and keeping within these bounds makes the difference between a cracking pint and something you'd rather not share with your mates.
British Brewing Considerations - Our climate's actually brilliant for brewing – mild summers perfect for ales, and cool winters ideal for lagers. Here's how to make the most of it:
Summer Brewing (June-August)
- Garages and cellars stay naturally cool
- Perfect for traditional British ale yeasts (18-22°C)
- Consider Kveik for exceptionally warm spells
Winter Brewing (December-February)
- Unheated spaces might be too cold for ales
- Excellent conditions for lager brewing (8-12°C)
- Bring fermenters indoors if temperatures drop below 15°C
Temperature Targeting - Aim for the lower-middle range of your yeast's specification. If your yeast works between 18-22°C, target 19-20°C. This approach gives you clean flavours without stress-induced off-tastes.
Exception to the Rule - Wheat beers, saisons, and Kveik strains often perform better at higher temperatures. These styles can handle – and sometimes require – more aggressive fermentation conditions.
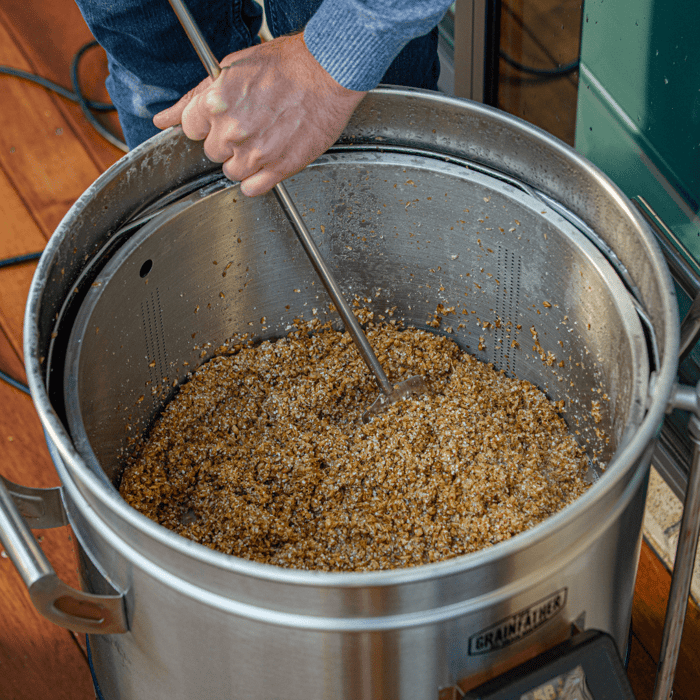
What Happens During Fermentation? The Four Stages
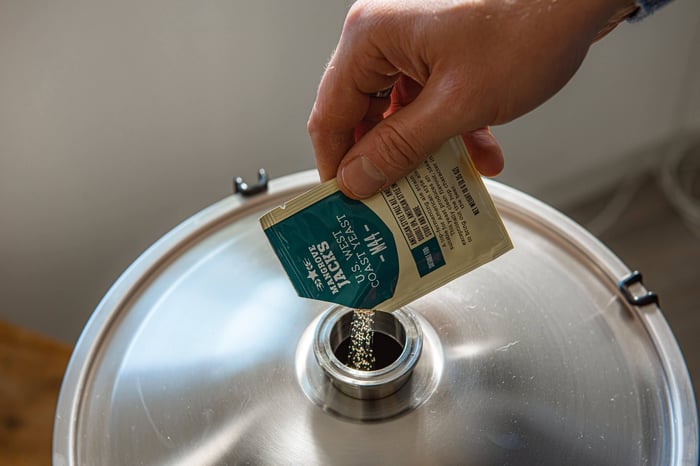
Stage 1: Lag Phase (0-15 hours) - The Awakening, Your yeast is essentially having a lie-in, getting accustomed to its new environment. They're checking out the oxygen levels, minerals, and amino acids available whilst sussing out all the sugar around them.
No airlock activity yet – they're just planning their strategy.
Stage 2: Growth Phase (4 hours - 4 days) - The Party Begins, "Let's get cracking!" The yeast starts multiplying rapidly and attacking those sugars with gusto.
You'll see the krausen (foamy head) forming and growing. Your airlock goes mental, and gentle convection currents start rolling through the wort as fermentation heat builds up.
Most of your alcohol and flavour compounds develop during this energetic phase.
Stage 3: Stationary Phase (3-10 days) - The Cleanup, The easy sugars are polished off, and the krausen changes colour from creamy white to yellow and brown (picking up hop and malt compounds along the way).
Here's where yeast earns its keep – it starts absorbing and converting off-flavours like diacetyl, higher alcohols, and unwanted esters into more pleasant compounds.
Your beer's still "green" at this point – drinkable perhaps, but not properly balanced.
Stage 4: Death Phase (Several weeks) - Job Done, Activity slows right down, yeast settles to the bottom, and your beer starts clearing beautifully. The flavours mature and develop their final character during this patient phase.
What Should Fermenting Beer Look Like?
It's a bit like Schrödinger's cat, isn't it? You can lift the lid and have a peek, but doing so might affect the outcome – usually for the worse. Clear fermenters are brilliant if you want to observe without risking contamination.
The appearance changes throughout fermentation, and understanding these visual cues helps you spot potential issues early.
After Fermentation: The Final Steps
Post-Fermentation Rest - Once fermentation's finished, resist rushing straight to packaging. Let your beer rest for a few days – this allows everything to settle and flavours to meld properly. If you can drop the temperature slightly, even better for clarity.
Secondary Fermentation: Necessary or Not? Traditional wisdom suggested racking to a secondary fermenter to get the beer off the yeast cake. Modern thinking says the risks (oxidation and contamination) rarely justify the benefits.
Skip secondary unless you're adding fruit, dry hops, or aging for extended periods. Your beer's generally better off left alone.
Troubleshooting Common Issues
Stuck Fermentation
- Check your temperature – too cold is often the culprit
- Consider adding yeast nutrients
- Gentle rousing sometimes kickstarts things
Off-Flavours
- Usually temperature-related – keep within yeast specifications
- Some issues resolve with time and patience
- When in doubt, let it finish properly
No Apparent Activity
- Be patient – yeast can be lazy sometimes
- Verify your temperatures are suitable
- Check yeast viability if you're concerned
Moving Forward
Ready to package your finished beer? Check out our comprehensive guides on bottling techniques and kegging methods to get your beer from fermenter to glass in top condition.
Got questions about fermentation or facing a brewing challenge? Drop us a line – we're always happy to help a fellow brewer sort things out.
Grainfather Team